LED Sequencer Using 10 White LEDs of Each 3W and Arduino
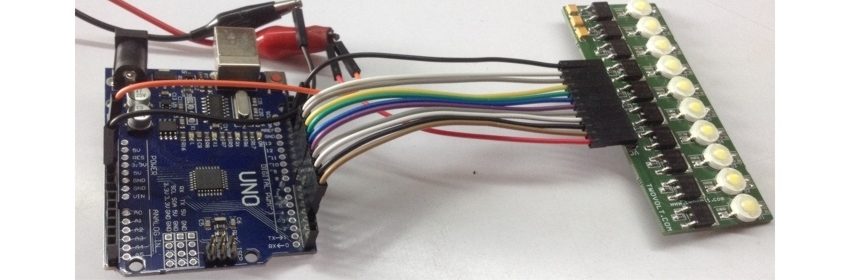
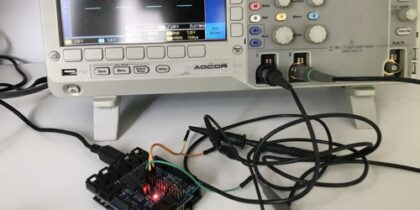
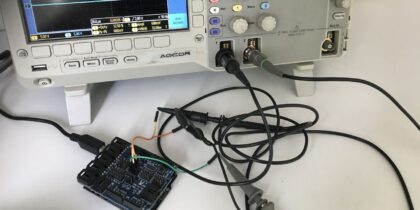
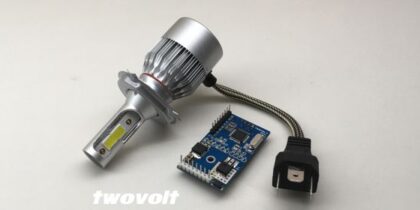
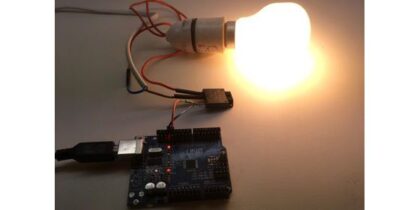
The 10 LED sequencer circuit published here is based on Arduino Uno and 10 White LED board. The project contains 10 LEDs of each 3W, provides high intensity, can be used in various applications. The board can be connected to Arduino Uno, Arduino Mega, Arduino Nano or Raspberry Pai , each LED can be controlled individually, I have connected LEDs to pin D2-D11 of Arduino. LED board required supply 5V DC, it can work with higher supply by changing current resistor across LEDs, Large size Bar-graph monitor, led sequencer, strobe, LED light effects are possible applications with this board.
Note : Dont Power Up the LED Board from Arduino, LED board required separate 5V DC 3Amps.
Video Of this Project

Features
- Supply 5V DC
- Maximum Load on each channel 300mA-400mA (Total 3Amps)
- LED 1-10 Connected to D2,D3,D4,D5,D6,D7,D8,D9,D10,D11 of Arduino
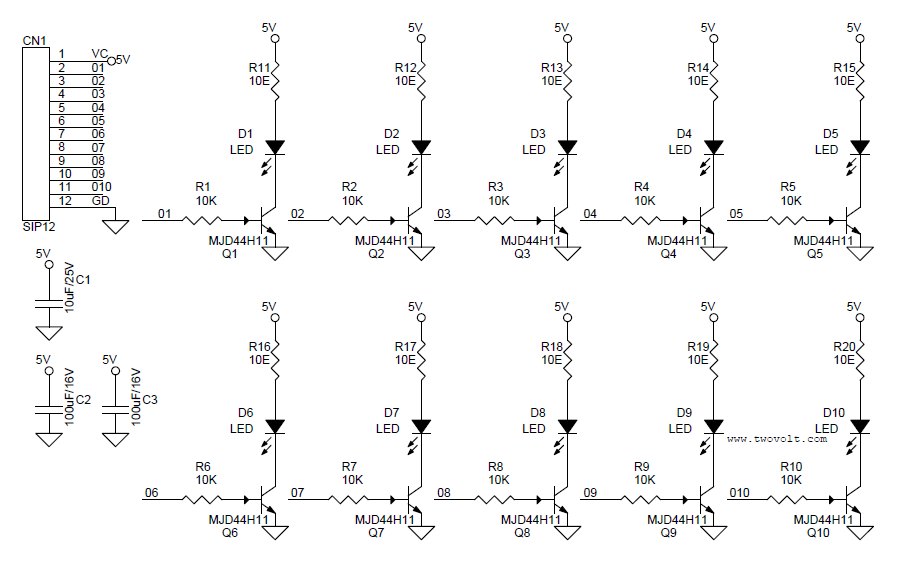
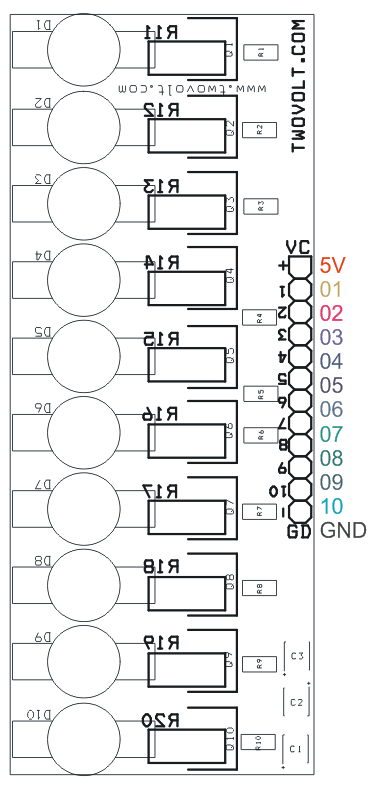
The 10X3W White LED board has been designed to create large size barograph meter and light effects generator. The board contains 3W LEDs, D-Pak transistor as driver and current limiting resistor across each LED. Circuit works with 5V, each LED take approx. 300mA-400mA current, each LED can be controlled individually by applying TTL voltage, header connector provided to interface micro-controller. LED dimmer possible by applying PWM signal to each LED, Easy interface with Arduino.


Arduino Code for LED Sequencer
/* A simple program to sequentially turn on and turn off 10 LEDs
Code tested on 10X3W white LED board works with 5V DC,
all LEDs take approx 2Amp current, PCB Design , Schematic
and Arduno code for 10LED sequencer can be download from our
website www.twovolt.com */
int LED1 = 2;
int LED2 = 3;
int LED3 = 4;
int LED4 = 5;
int LED5 = 6;
int LED6 = 7;
int LED7 = 8;
int LED8 = 9;
int LED9 = 10;
int LED10 = 11;
void setup() {
pinMode(LED1, OUTPUT);
pinMode(LED2, OUTPUT);
pinMode(LED3, OUTPUT);
pinMode(LED4, OUTPUT);
pinMode(LED5, OUTPUT);
pinMode(LED6, OUTPUT);
pinMode(LED7, OUTPUT);
pinMode(LED8, OUTPUT);
pinMode(LED9, OUTPUT);
pinMode(LED10, OUTPUT);
}
void loop() {
digitalWrite(LED1, HIGH);
delay(60);
digitalWrite(LED2, HIGH);
delay(60);
digitalWrite(LED3, HIGH);
delay(60);
digitalWrite(LED4, HIGH);
delay(60);
digitalWrite(LED5, HIGH);
delay(60);
digitalWrite(LED6, HIGH);
delay(60);
digitalWrite(LED7, HIGH);
delay(60);
digitalWrite(LED8, HIGH);
delay(60);
digitalWrite(LED9, HIGH);
delay(60);
digitalWrite(LED10, HIGH);
delay(60);
digitalWrite(LED1, LOW);
delay(60);
digitalWrite(LED2, LOW);
delay(60);
digitalWrite(LED3, LOW);
delay(60);
digitalWrite(LED4, LOW);
delay(60);
digitalWrite(LED5, LOW);
delay(60);
digitalWrite(LED6, LOW);
delay(60);
digitalWrite(LED7, LOW);
delay(60);
digitalWrite(LED8, LOW);
delay(60);
digitalWrite(LED9, LOW);
delay(60);
digitalWrite(LED10, LOW);
delay(60);
}